

हस्त
Palm photos
How to take your palm photos
Hasta Samudrika reads the whole hand — its shape, the fingers, the thumb, the nails, the edges and the wrist — not only the lines. So a palm reading needs both hands, each from these angles.
The seven views
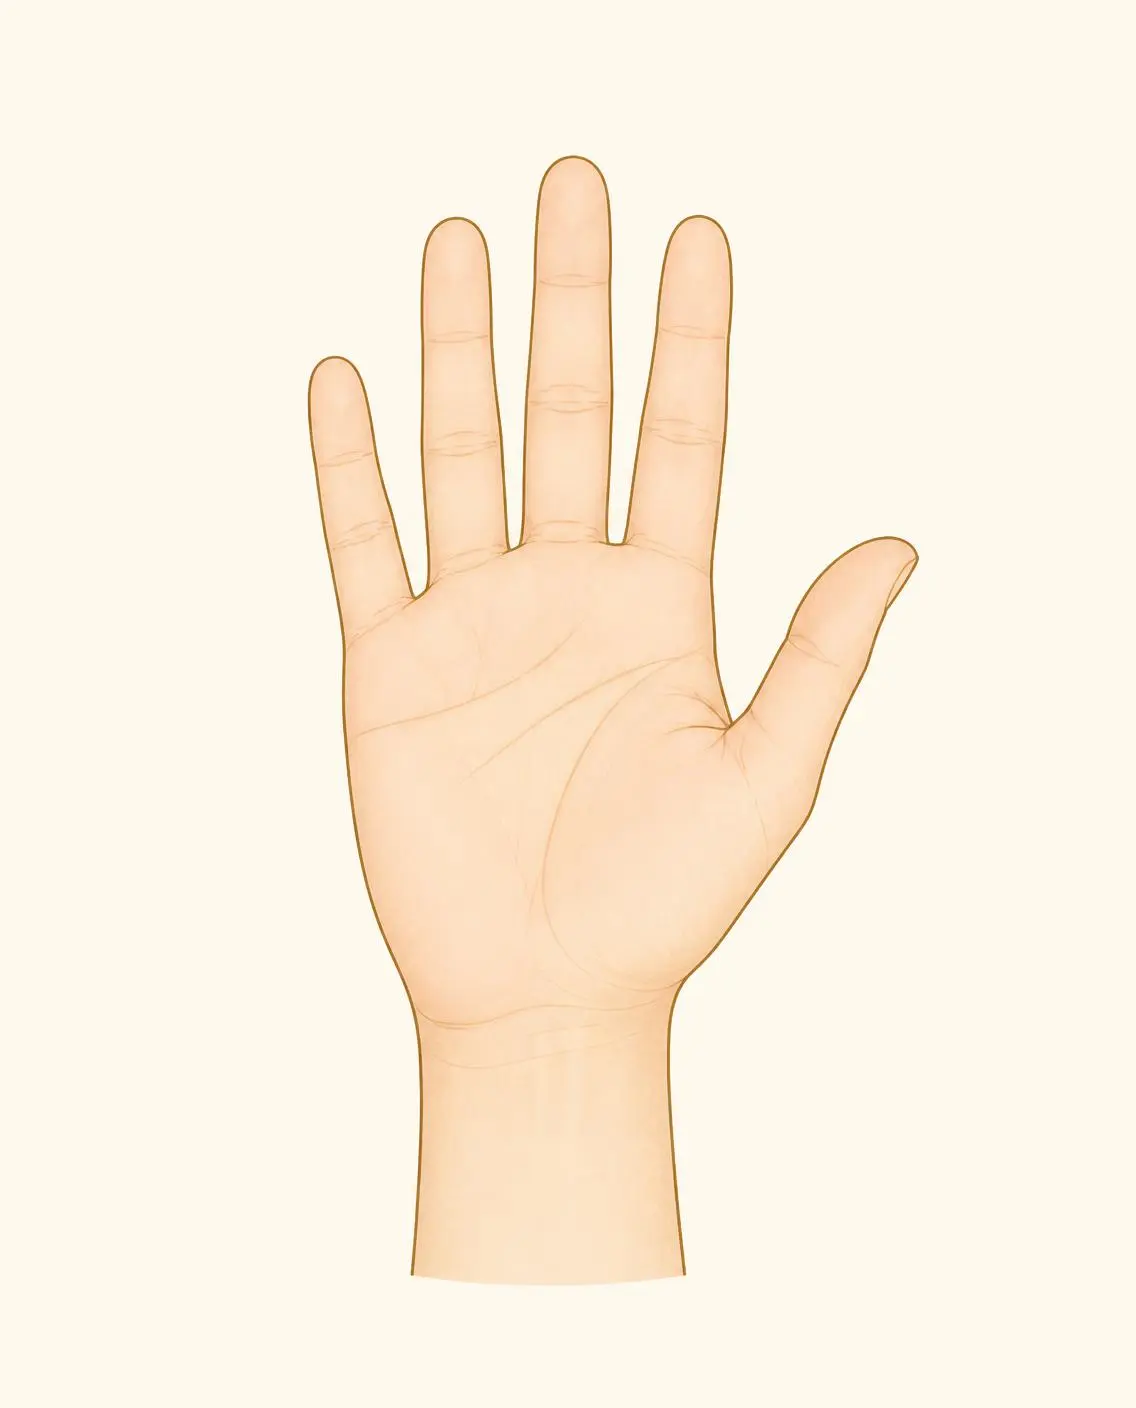
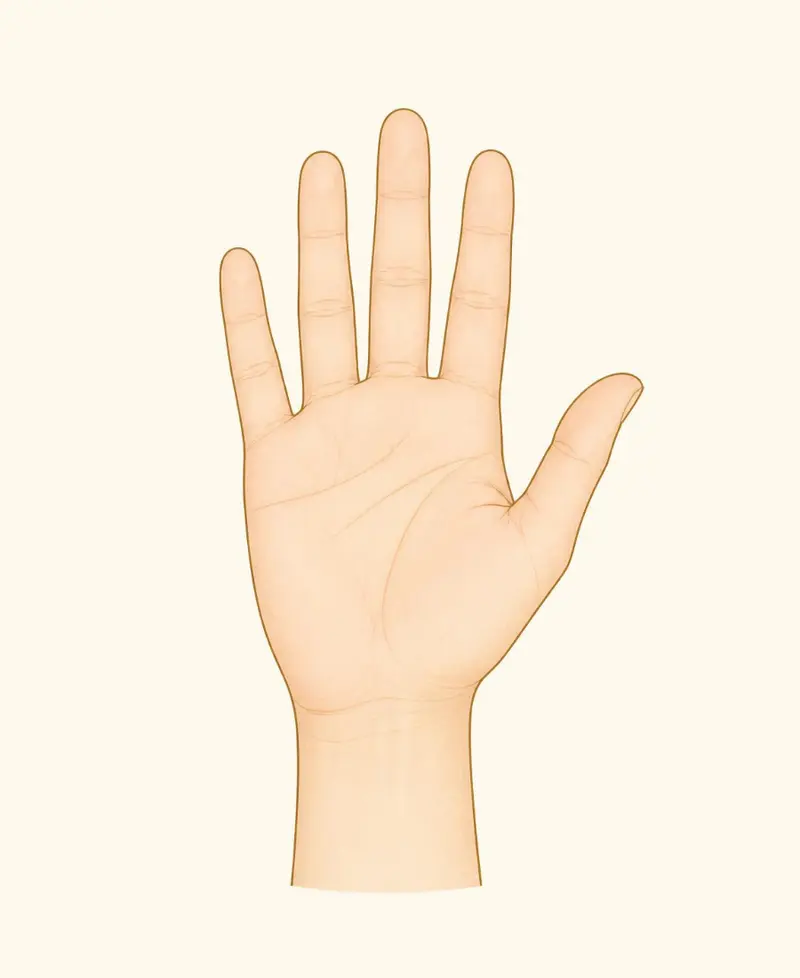
Palm, fingers apartThe whole palm, fingers relaxed and spread a little 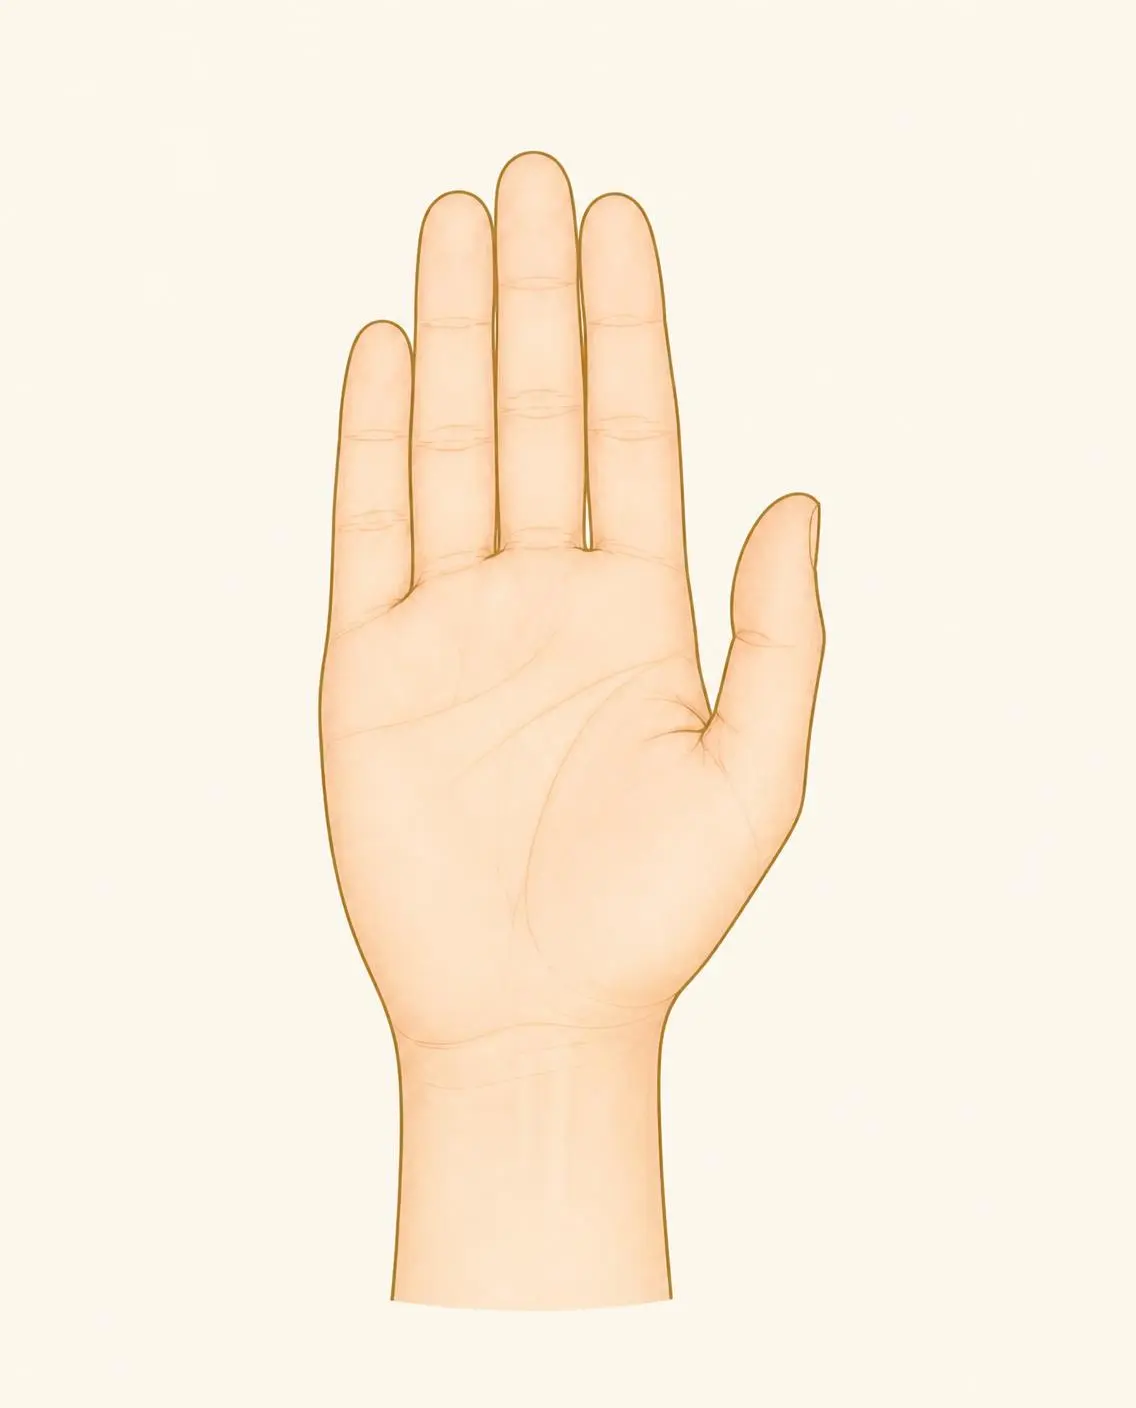
Palm, fingers togetherFingers closed, so their lengths and the gaps show 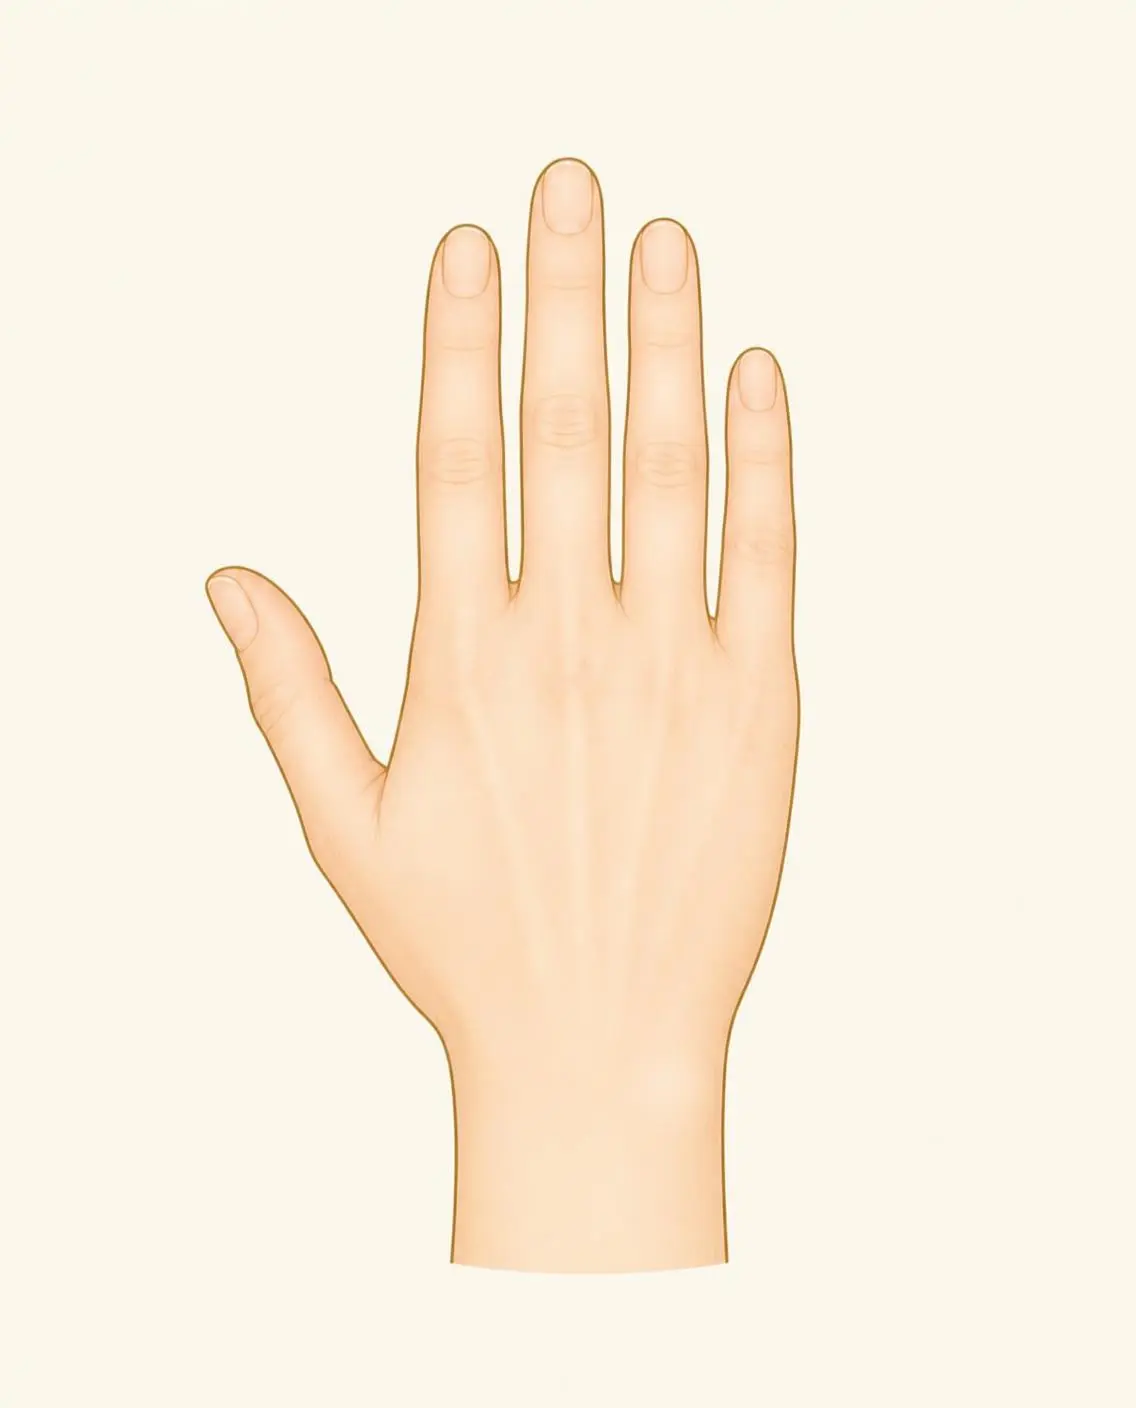
Back of the handFingers together; nails and knuckles in view 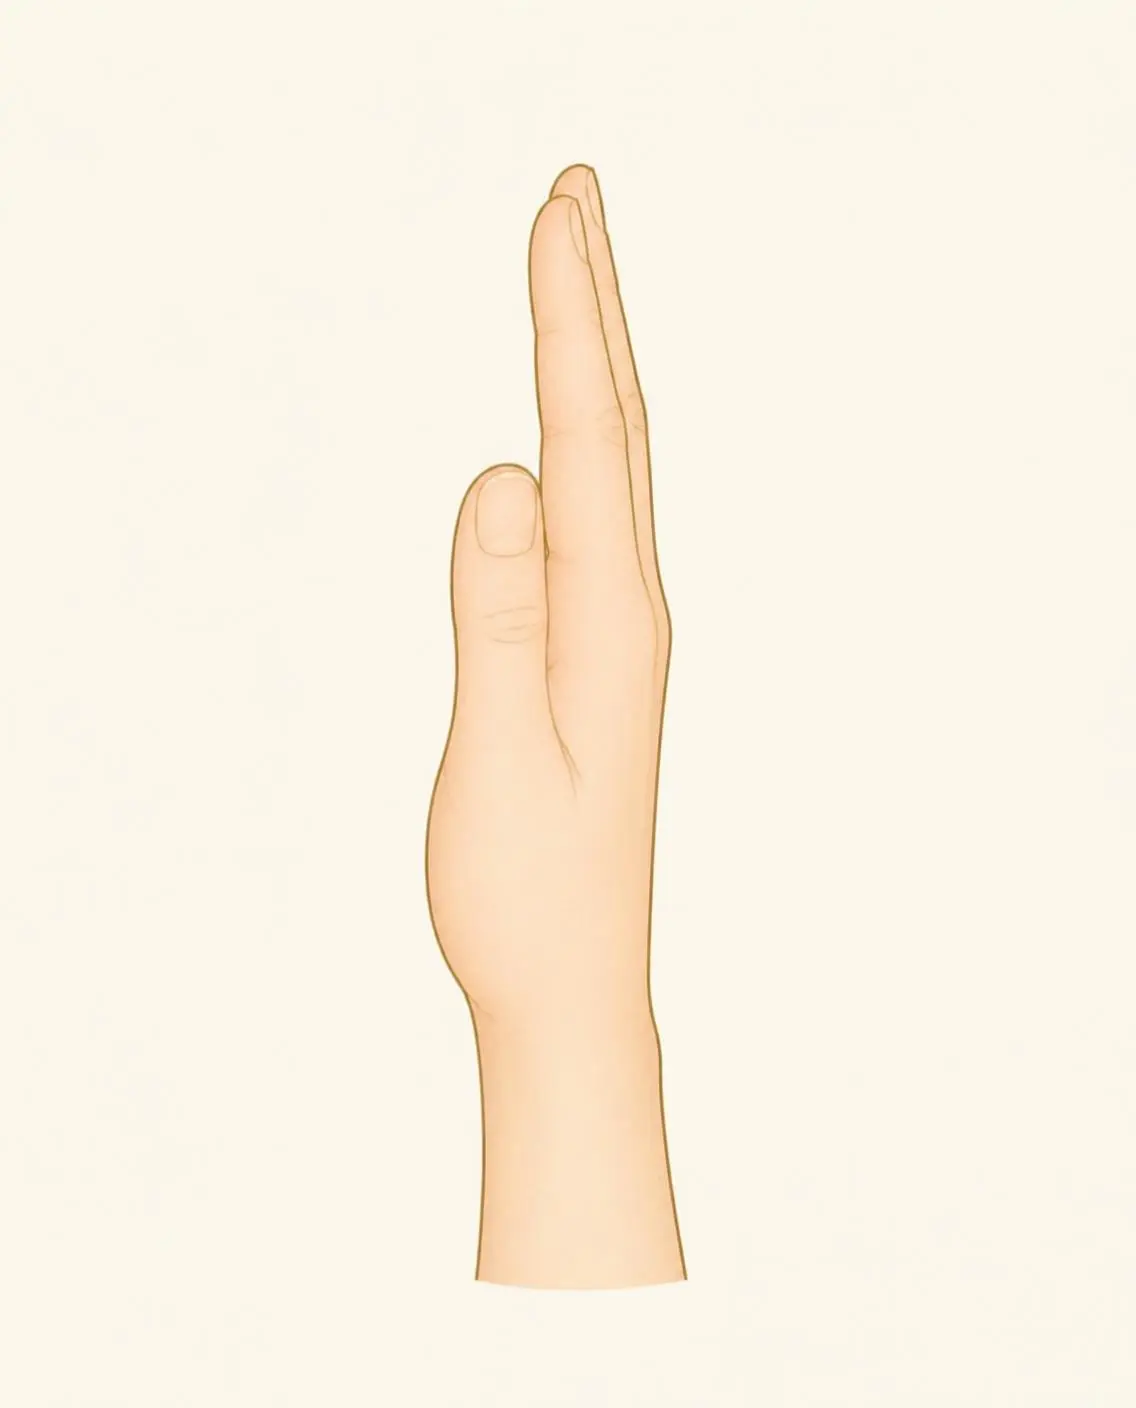
Thumb sideTurn the hand to show the thumb edge 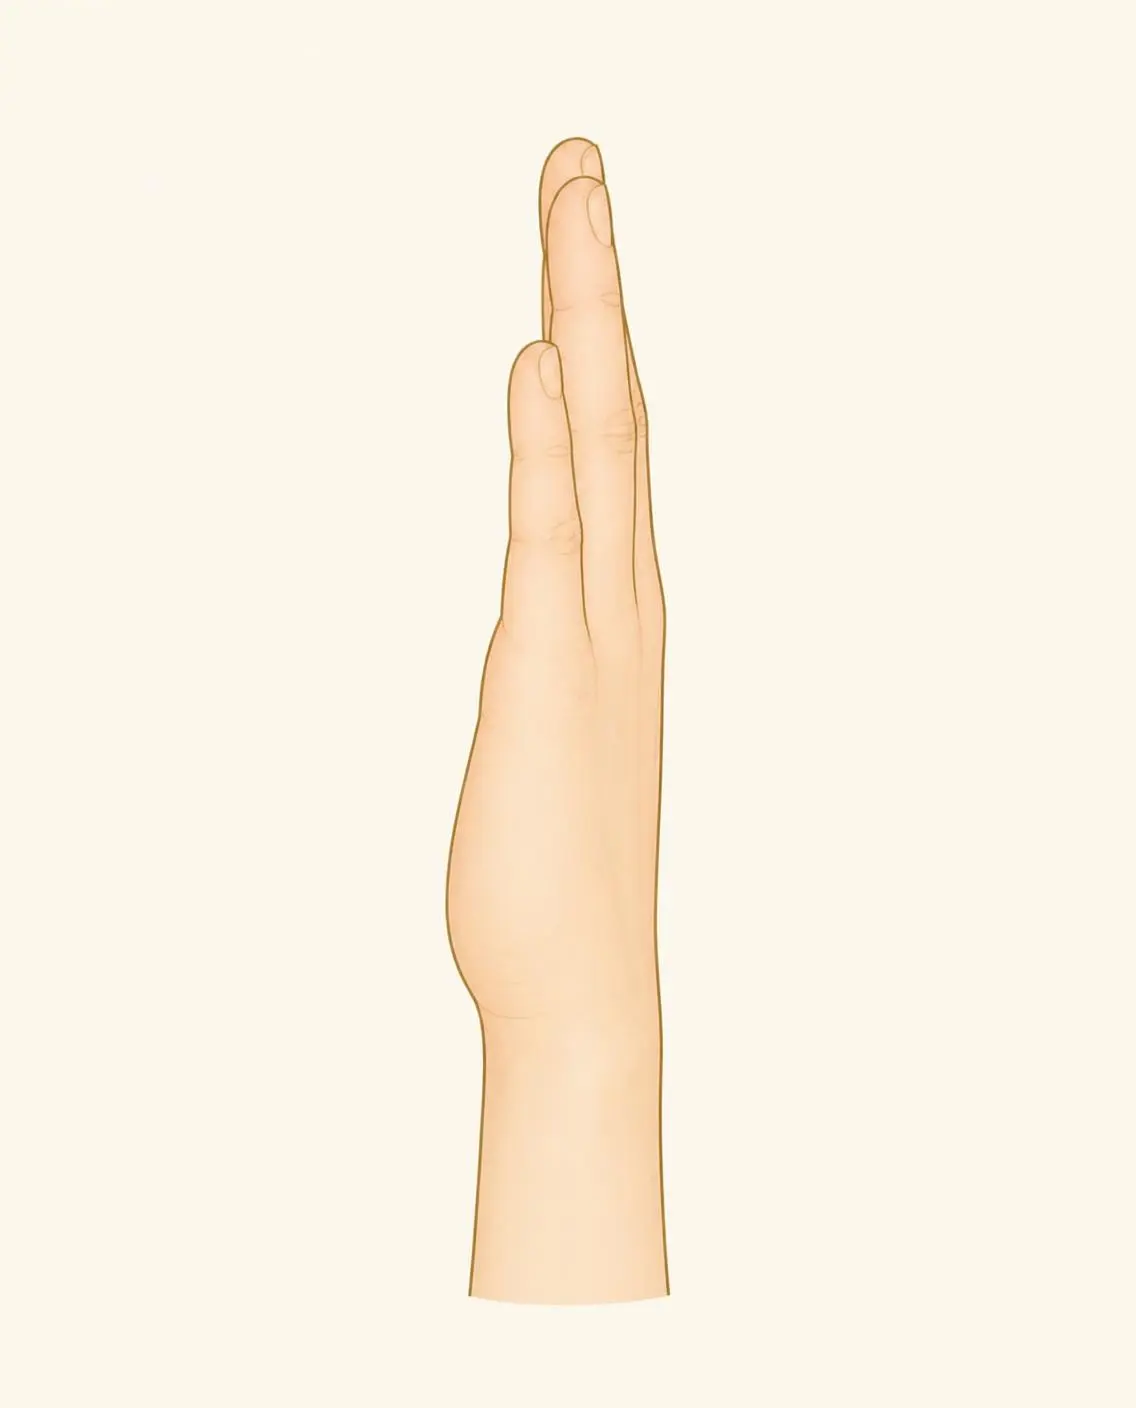
Little-finger sideThe outer edge of the hand, below the little finger 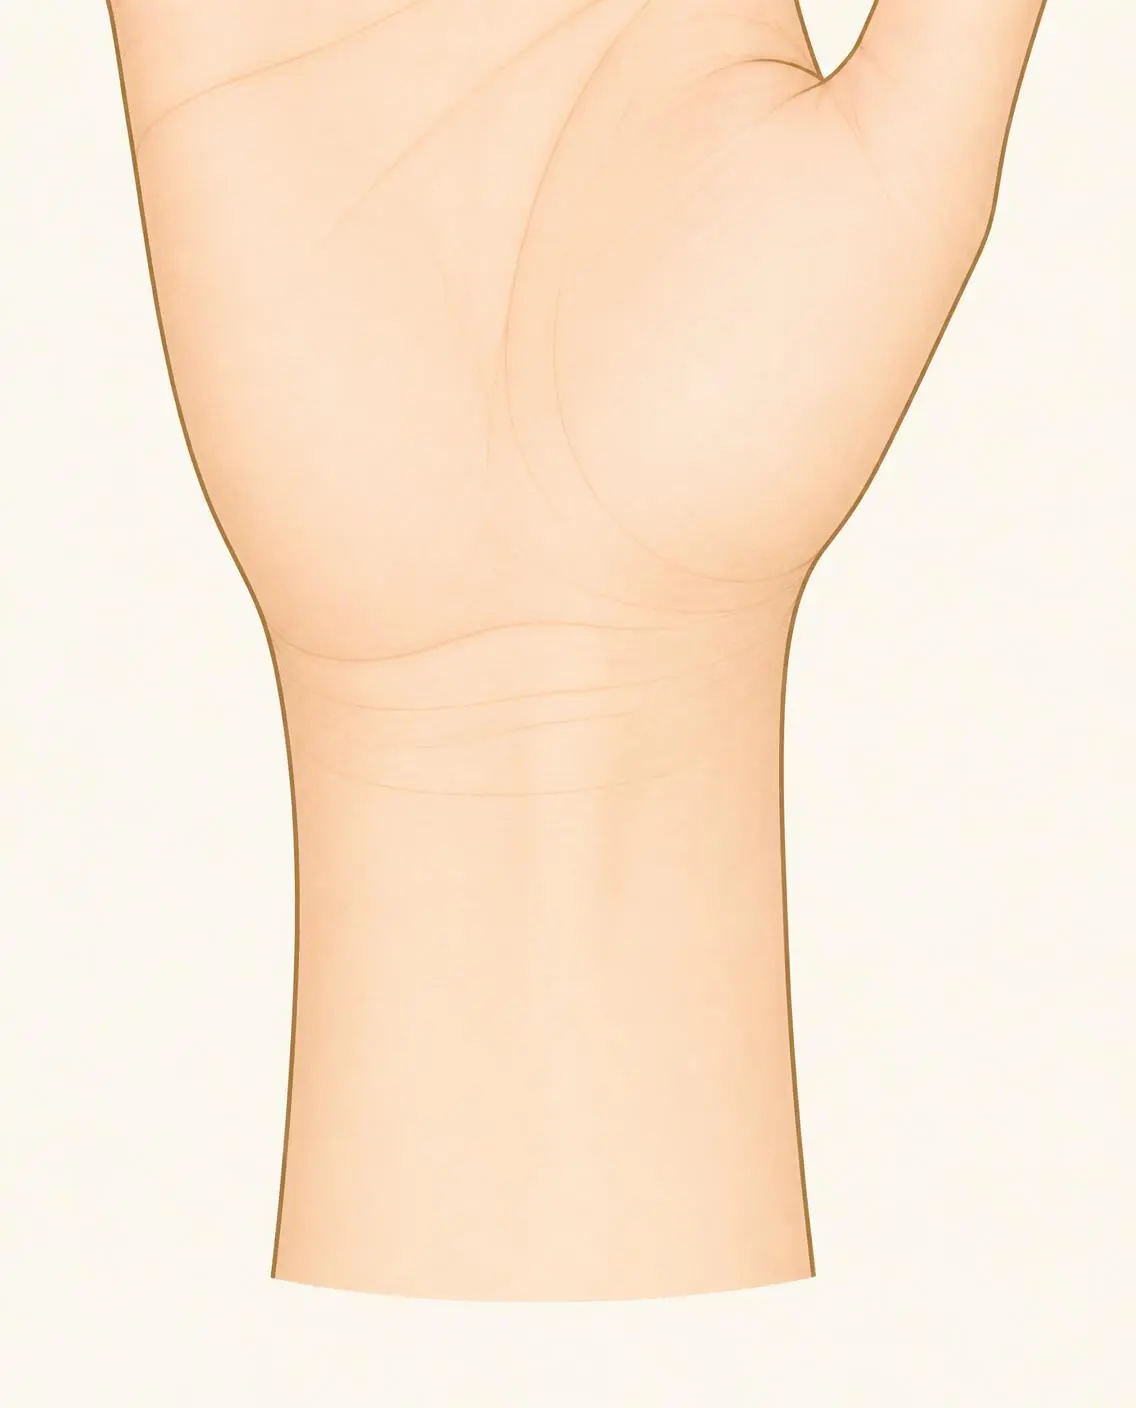
WristPalm up, the lines across the wrist in the frame 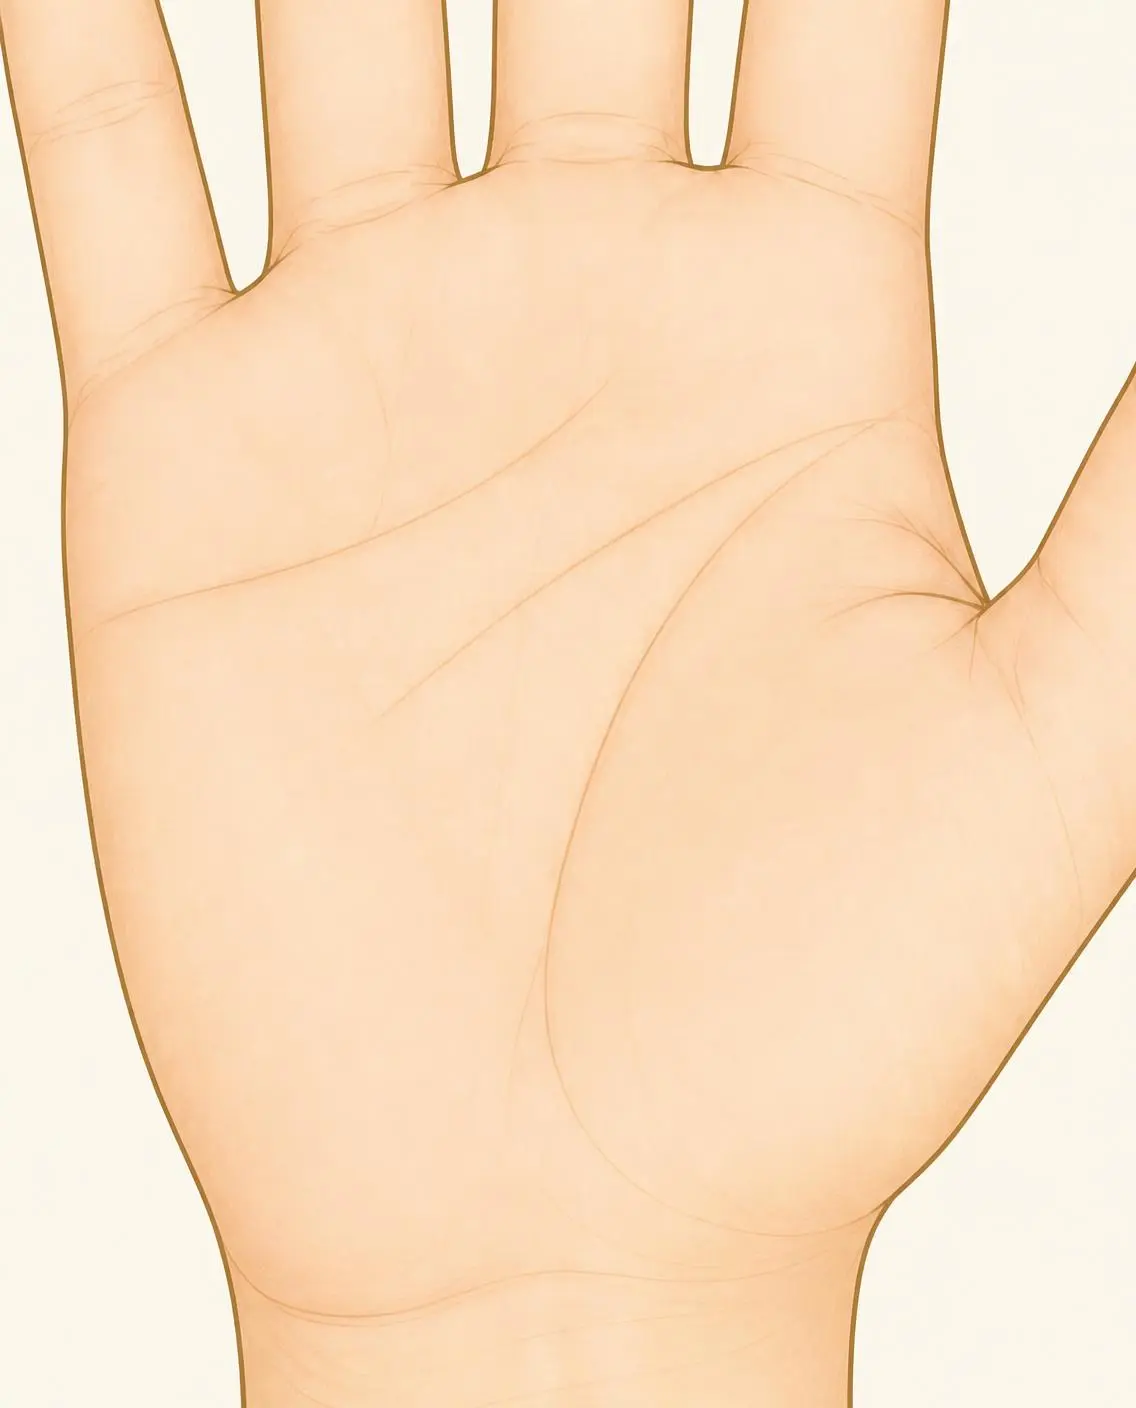
Close-up of the linesThe middle of the palm, close and sharp - Left and right handEvery view, for both hands — 14 photos in all.
How to take them
1 · Daylight
Near a window, in the day. No flash.
2 · Straight above
Hold the phone flat over the hand, not at an angle.
3 · Whole and sharp
The whole hand in the frame, fingertips to wrist. Tap to focus.
4 · No filters
Straight from the camera, no beauty mode.
Optional · a drop of oil
Rub a drop of oil into the palm and wipe off the extra. The lines show more clearly — but too much shine causes glare.
Check a photo
This checks the photo, not your hand: light, sharpness and framing. Geeta looks at every photo herself and asks for a retake if one isn’t clear. Nothing leaves your phone.
Palm, fingers apart
The whole palm, fingers relaxed and spread a little